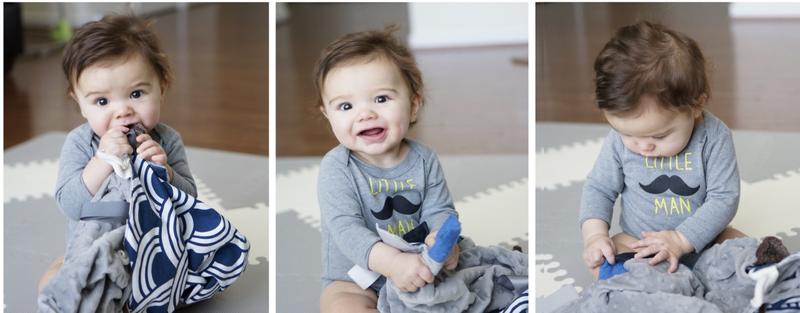
Easy DIY Baby Sensory Blanket
Finding an attractive baby tag blanket is much harder than I though but making one was easy! When I first started perusing etsy and pinterest, all I could find were overly bright and colorful “baby-ish” options. I was set on having a blanket that could be aesthetically pleasing while still be entertaining and stimulating for Max. Since the best inspiration usually comes from need, I made this sensory blanket with scraps of fabric and ribbon I had around the house. I love how it turned out and Max loves it too!
-
Cut main blanket fabric 1” larger than the desired final size (if your desired size is 25”×25” then cut a 26”×26” square of fabric). a 26”×26” (allow for a 1/2” seam) square from each fabric. I decided on this size based on how much fabric I had, but it ended up being a great size.
-
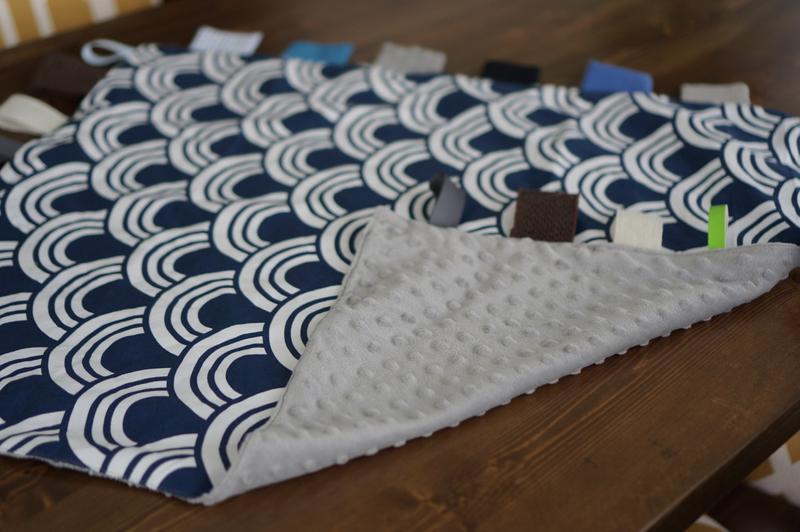
Crinkly Sensory Side. Pocket fabric (seer sucker, linen/cotton blend, soft-n-comfy dot fabric, denim, felt, broad cloth)
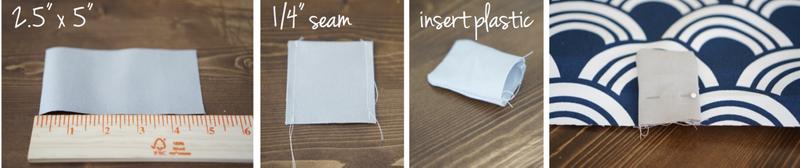
- Fold the fabric in half and sew 1/4” seams.
- Turn the fabric right side out.
- Fill the pocket with crinkly plastic.
- Pin to main blanket. Sew to fabric with a 1/4” seam.
-
Ribbon Sensory Sides. I lined two sides of the blanket with different types of ribbon. I included ribbon with different textures (satin, velvet, plastic, grosgrain, burlap, twill, jute).
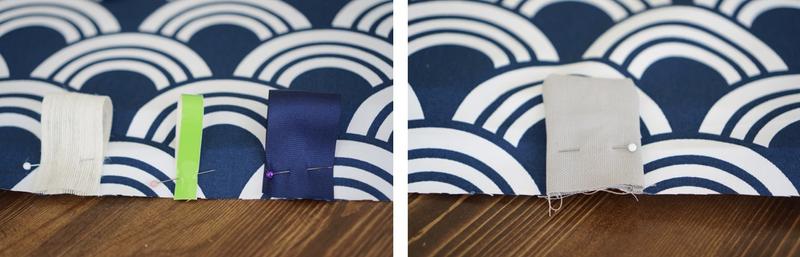
- Cut 5” strips of ribbon and fold in half.
- Evenly space the ribbon across one edge of the fabric.
- Pin ribbon to the front side of the fabric with the folded edge pointed in.
- Sew ribbon to fabric with a 1/2” seam.
-
Sew the two pieces of fabric together with a 1/2” seam. Leave an opening so you can flip the blanket right side out. Top stitch around the edge of the blanket for a cleaner finish.